AdVis supports Alpha channels which are very useful for creating layered effects.
An alpha channel allows content below the image to be displayed through it. This means when you load your own images into AdVis, the backgrounds can be removed to create an image of any shape. It's also a requirement for creating masks to be used within AdVis.
To create an image that contains an alpha channel you will need a graphics package that supports transparency such as Adobe Photoshop.
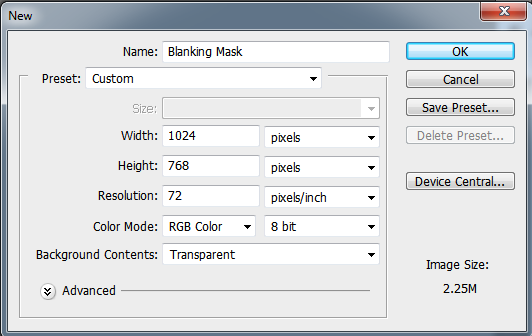
Step 1. Open Photoshop, then create a new image by going to File, then New. You will be shown the 'New' Dialog. Make sure the 'Background Contents' box is set to Transparent.
Step 2. Transparent areas of your image are shown by the white and grey checked pattern show above. You can now draw a mask onto this image. Black pixels will blank the projected content and transparent pixels will show the effect below.
Step 3. In this example, the 'Custom Shape' tool is selected with a 'paw print'. With the colour set to black, the shape is filled in black and needs to be inversed so that the black pixels are transparent and the transparent pixels become black. You can do this by holding the CTRL key and clicking the layer you have just created (Shape 1) to select the shape.
Step 4. Invert your selection by choosing 'Invert' from the 'Select' menu. Add a new layer by going to 'Layer', 'New', 'Layer' then click 'OK'. Use the 'Fill' tool to fill the outside of the shape with black pixels.
Step 5. Delete the shape layer and you will be left with an outline of the paw shape filled with black pixels and the actual shape filled with transparent pixels.
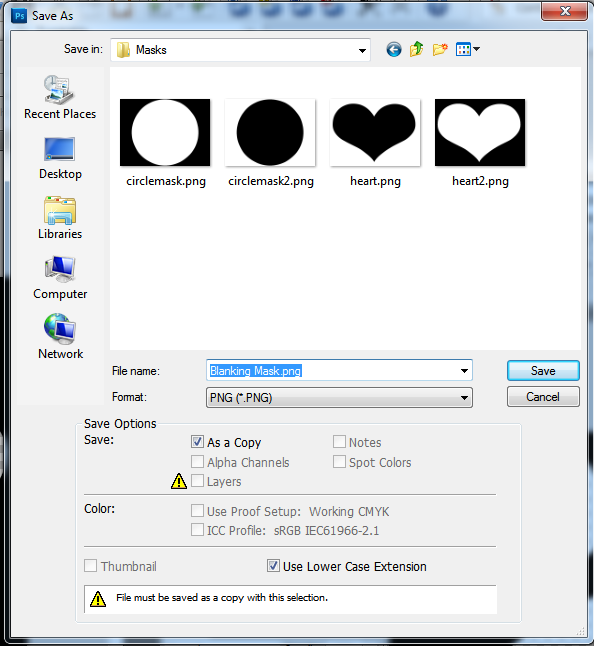
Step 6. You are now ready to save the mask. You must use a
file format that supports Alpha Channels i.e. .png, .bmp.
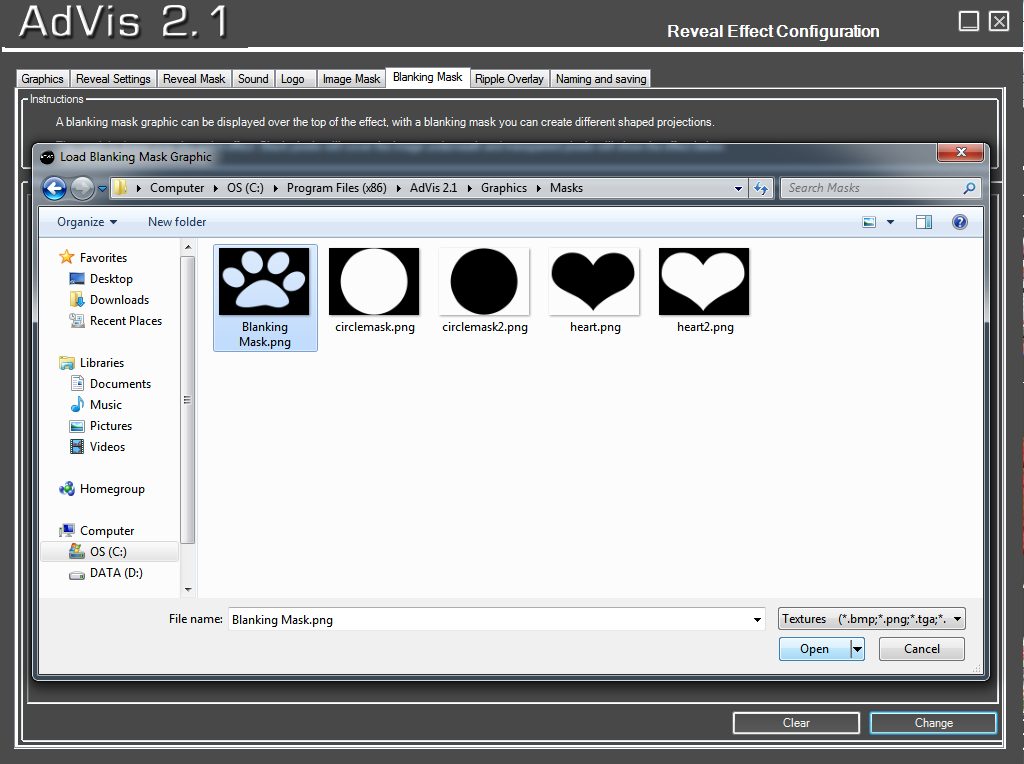
Step 7. From the
blanking mask tab in your effect configuration, browse for your newly created mask file.
Step 8. Test you effect and you will see how the mask will only show your effect through the transparent pixels. Black pixels will not be shown on your projected image. You have successfully created a custom shaped display.