|
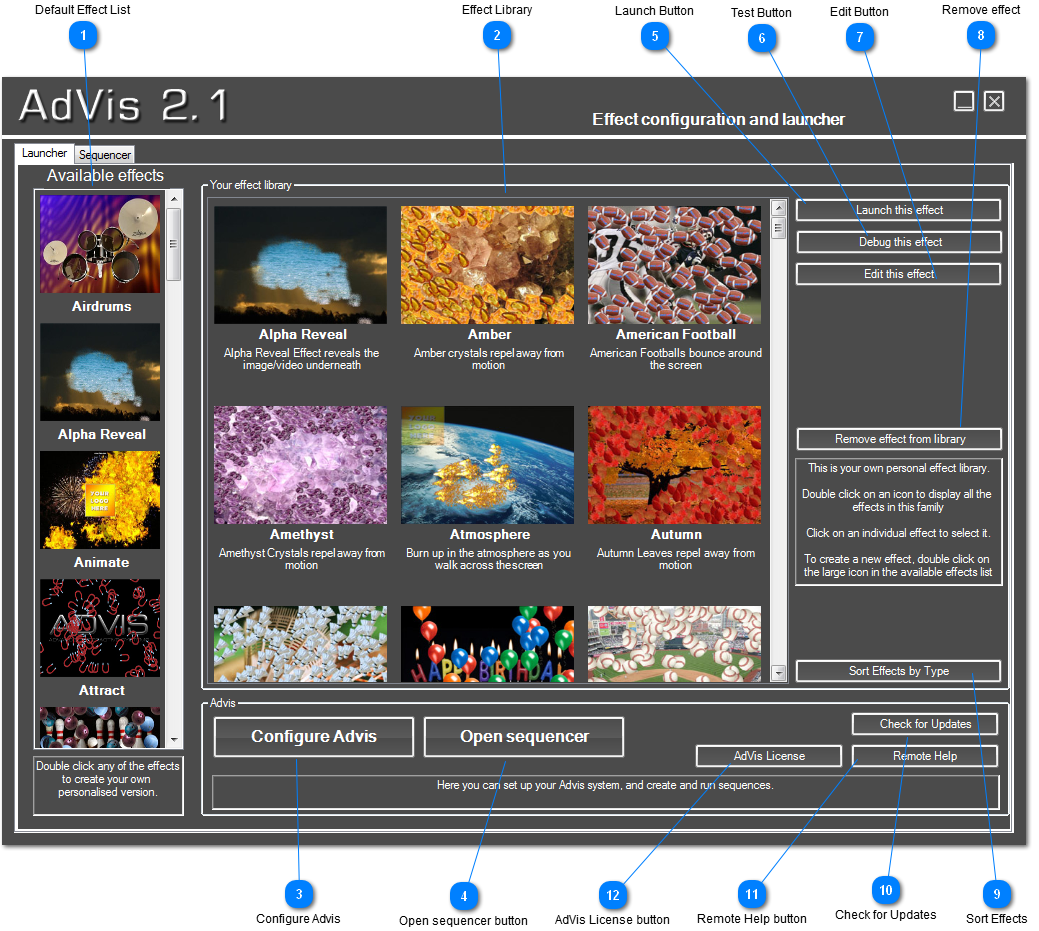
This is the first screen you will encounter when you launch AdVis, and you will spend most of your time here setting up effects and configuring AdVis.
On the left you have a list of effect categories, you can double click a category to begin creating a new effect. In the center you have a list of all your effects wither put into categories or listed in alphabetical order. You can switch between the two layouts by pressing the 'Sort Effects by Name/Type' button.
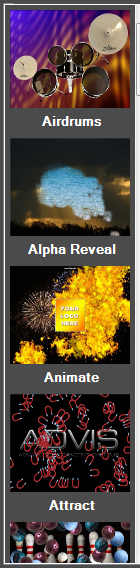
 Default Effect List
This is the starting point for creating new customised effects. The default effects shown will depend on your license and which effects you have bought. Double click an effect template to start creating a new effect.
| |
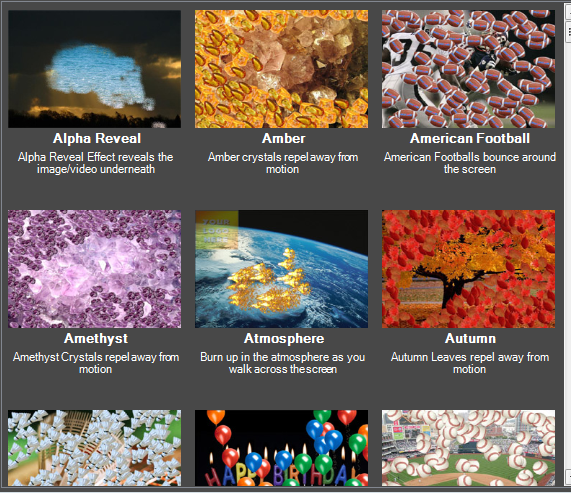
 Effect Library
AdVis comes with many pre-configured effects covering a wide range of applications and themes. The effects that are shown here when you first launch AdVis will depend on your license.
Any new effects that you create will be stored here. Each effect has a unique name, using the same name for an effect will overwrite an existing effect if you choose to do so. You can also set a unique description and thumbnail to help you easily identify the effect later.
You can double-click an effect to launch it in full screen mode with tracking, or single click an effect and choose whether to launch in test mode, tracking mode or to edit it. You can also remove the effect from the library.
| |
 Configure Advis
Click this button to Configure AdVis. Here you can configured the major and advanced settings of AdVis.
| |
 Open sequencer button
Click here to move to the sequencer tab. You can also open the sequencer tab by clicking it's tab at the top of the screen.
| |
 Launch Button
After you have selected an effect from the Effect Library, click here to launch the effect in normal tracking mode. A Tracking Kit must be installed and configured to launch the effect.
| |
 Test Button
If you don't have the tracking kit installed, but want to test out an effect you have created, you can press this button to open the effect and interact with it using the mouse instead of the tracking kit. You must select an effect from the Effect Library first.
| |
 Edit Button
After selecting an effect, click this button to go into edit mode. You can completely customise and change the effect, and even save as a new effect.
| |
 Remove effect
This will remove the selected effect from your Effect Library. Once you have removed an effect, you will not be able to get it back and will have to start again from a Default Template.
| |
 Sort Effects
You can choose how to list the effects in the Effect Library. Either in Alphabetical order, or listed underneath it's Default Effect category.
| |
 Check for Updates
AdVis has built in Automatic updating. Make sure you have an internet connection before clicking this button. AdVis will check for any updates, and then download and install them automatically.
| |
 Remote Help button
AdVis has a built in Remote Help server. If you are having problems, or need some help guiding you through something, you can run this and supply us with the unique server ID. We can then remotely log in to your system and fix any problems or show you how to do something. Make sure you have a working internet connection.
| |
 AdVis License button
Click here to view your activation details. You can also deactivate your license or install a new one.
| |
|
|